

Advanced nasal oxygen catheter tester equipment


Whats/App: +86 156 1874 6768
Web: standard-groups.com
Standards
YY/T 1543 - 2017:Nasal Oxygen Cannula
GB/T 1962.1-2005:Conical fittings with a 6%(Luer) taper for syringes, needles and certain other medical equipment -- Part 1: General requirement
Features
• Supports five major testing functions: airflow resistance, crush resistance, leak testing, and pressure resistance.
• 7-inch color touchscreen control with an intuitive interface for a significantly improved user experience.
• The device is equipped with a miniature printer for real-time printing of test results.
• Equipped with a high-precision pressure sensor, allowing for stable control of output pressure via a rotating pressure knob.
• Equipped with a high-precision flow meter for accurate measurement of flow through the tubing.
• Unique rotary design accommodates crush resistance testing of nasal oxygen tubes with various inner diameters.
• Features a universally designed conical test interface, meeting the testing requirements of most products on the market.
• The device has powerful built-in data storage capabilities.
• Miniature printer and universal USB data interface for convenient data output and transfer.
• Intelligent features such as overload protection and power-off memory effectively ensure user safety.
• Free software upgrade service is provided.
Technical Parameters
| Parameter | Specification |
|---|---|
| Test Pressure Range | Usually covers 0 - 600kPa or higher, to meet testing requirements of nasal oxygen tubes with different specifications and materials |
| Test Flow Range | Simulates normal oxygen supply flow (e.g., not less than 15L/min), ensuring air permeability of nasal oxygen tubes in actual use |
| Accuracy | High level of accuracy; e.g., pressure accuracy reaches ±1% or higher, ensuring test result accuracy and reliability |
| Data Collection and Display | Equipped with data collection card and display screen, which collect and display real-time test data (pressure, flow rate, time, etc.) for easy observation and recording |
| Clamping Device | Fixes nasal oxygen tubes to keep their position stable (no displacement/shaking during testing); adaptable to nasal oxygen tubes of different specifications and shapes |
| Operation Interface | Simple and clear for easy operation; some testers are equipped with touch-screen control and menu-style functions to improve operational convenience |
Accessoriess
1 main unit;
1 set of testing software;
1 instruction manual;
1 certificate of conformity;
1 warranty card;
1 delivery receipt;
1 nameplate;
1 power cord;
1 set of wrenches;
Several brochures;
1 x 1/8 barbed connector;
1 x 1/8 Luer connector (male).
Test Procedures
1. Pre-test Preparation
Check that the instrument's power supply and pipeline connections are normal, start the instrument and preheat it to a stable working state.
Calibrate the pressure and flow sensors (refer to the instrument calibration guide) to ensure that the detection accuracy meets the requirements.
Clean the fixtures and pipelines of impurities, prepare the nasal oxygen cannula samples to be tested, and record the basic information of the samples, such as specifications and materials.
2. Sample Installation
Connect the nasal oxygen cannula sample to the corresponding pipeline interface of the instrument, and use a special fixture to fix both ends of the sample, ensuring that the connection is sealed without leakage and that the sample is not bent or displaced.
3. Test Parameter Setting
Through the instrument's touch screen interface, select the target test item (such as airflow resistance, pressure resistance, leakage test, anti-flattening performance, etc.).
According to the corresponding standard for nasal oxygen cannulas (such as YY/T 1543-2017), set the corresponding test parameters (such as test flow rate, pressure threshold, pressure holding time, etc.), and save the parameters after confirmation.
4. Starting the Test
After confirming that the sample connection and parameter settings are correct, click the "Start" button. The instrument will automatically execute the test process, collecting and displaying data such as flow rate, pressure, and time in real time.
5. Test Process Monitoring
During the test, observe the data changes on the instrument interface and the sample status. If any abnormalities such as loose pipelines or leaks occur, pause the test immediately and handle the issue.
6. Test Completion and Cleanup
After the test is completed, the instrument will automatically shut down. Record or export the test data (such as airflow resistance value, pressure resistance results, etc.).
Loosen the fixture and remove the sample, clean the fixture and pipelines, turn off the instrument power, and prepare the test report.
Send product request
Other supplier products
 |
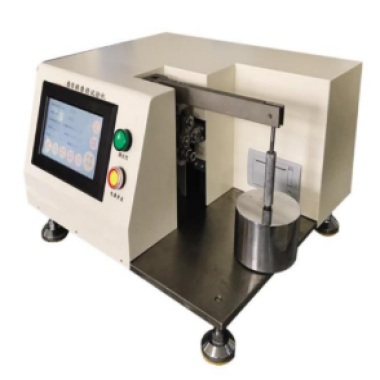
Appliance Stability Tester | Whats/App: +86 156 1874 6768 Web: standard-groups.com The Appliance Stability Tester is designed to evaluate the mechanical stability and anti-ti... |
 |
Sliding bearing PV friction testing machine | Whats/App: +86 156 1874 6768 Web: standard-groups.com Standard This machine is mainly applicable to GB 7948-1987 plastic bearing limit PV test m... |
 |
Toyota abrasion tester for plastics and coatings | Whats/App: +86 156 1874 6768 Web: standard-groups.com Standard JIS L 0849 (Japanese Industrial Standard for Abrasion Resistance of Textiles) IS... |
 |
ASTM D4751 Wet Sieve Aperture Measurement System | Whats/App: +86 156 1874 6768 Web: standard-groups.com The geotextile equivalent pore size tester (wet sieving method) is an instrument used to de... |
 |
Stress Cracking Full Notch Creep Test Equipment ASTM D5397 | Get a quote: Whats/App: +86 156 1874 6768 Web: standard-groups.com Standards (1)ISO 16770: Exclusively designed for full-notch creep testing (F... |
Same products
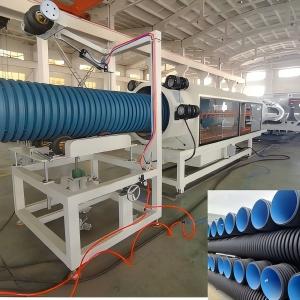 |
HDPE High Speed Water Cooled Double Wall Corrugated Pipe Extrusion Line | Seller: Shandong HUASU Plastic Technology Co.,Ltd. | The molds adopt the double flow channel structure and nitriding polishing processed die head. Thi... |
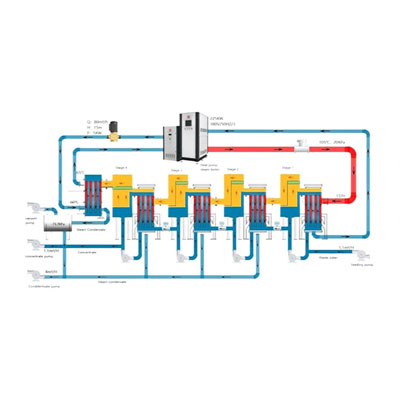 |
PanEVAP & MVR system | Seller: Yangzhou Panstar Heat Exchanger Equipment Co., Ltd | A multiple-effect evaporator is a device that efficiently uses steam heat to evaporate water. Wat... |
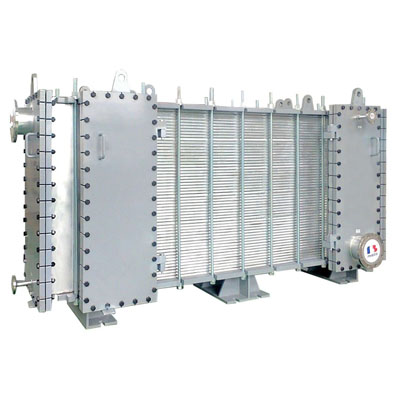 |
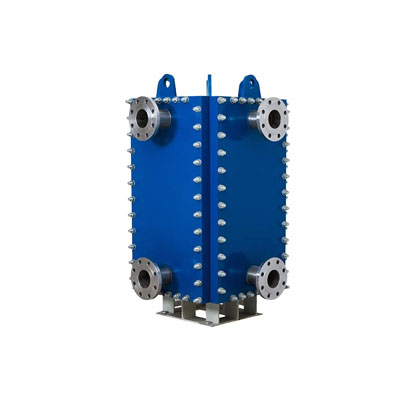
PanGAP wide gap welded plate heat exchanger | Seller: Yangzhou Panstar Heat Exchanger Equipment Co., Ltd | PanGAP wide gap welded plate heat exchangerconsists of a welded plate pack with different channel... |
 |
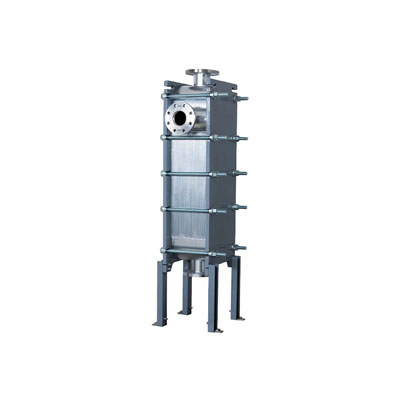
PanBloc welded plate heat exchanger | Seller: Yangzhou Panstar Heat Exchanger Equipment Co., Ltd | PanBloc welded plate heat exchangeris compact and efficient, although fully welded, is totally ac... |
 |
PanBox welded plate heat exchanger | Seller: Yangzhou Panstar Heat Exchanger Equipment Co., Ltd | PanBox welded plate heat exchangerconsists of a laser welded plate pack with optimized corrugated... |

