Automatic Wrinkle Recovery Tester
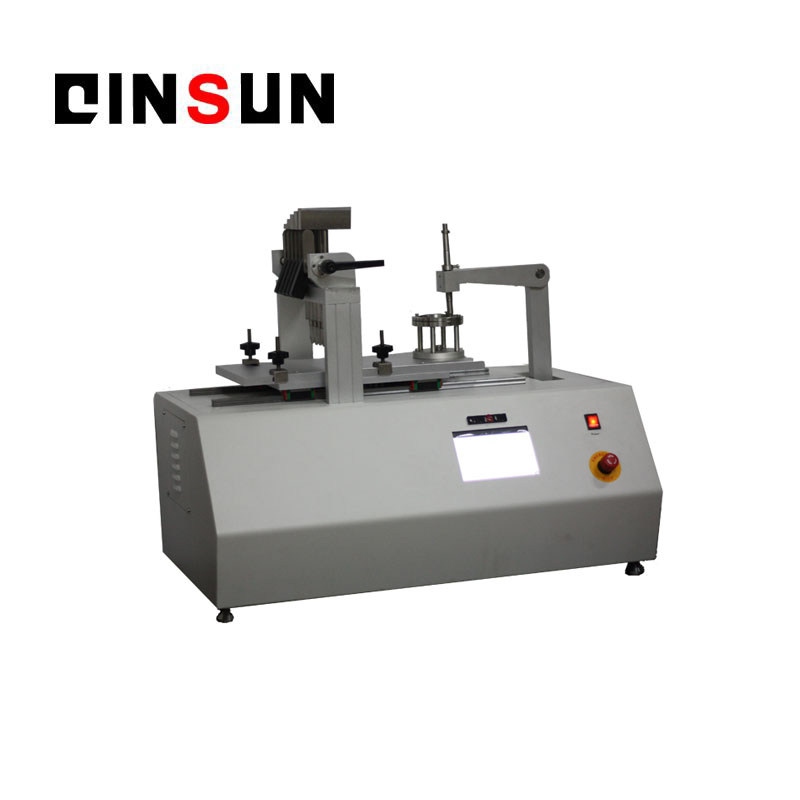
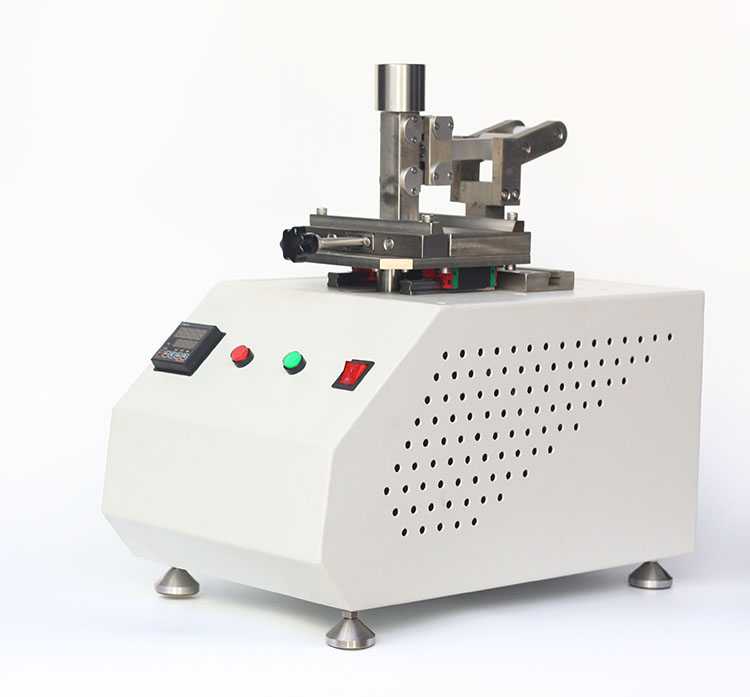
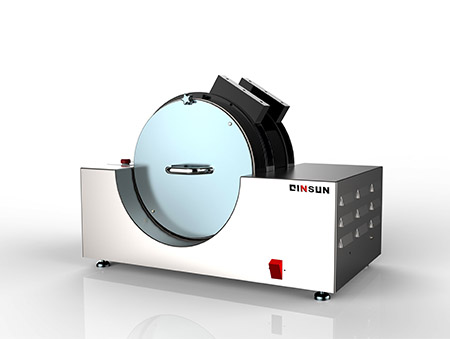
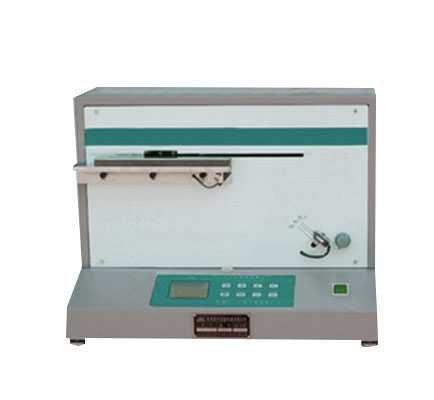
The main principle of the wrinkle recovery tester is to apply a predetermined pressure to the specimen under standard atmospheric conditions and to maintain the specified time. The overall structure of the instrument and the precise spiral column ensure that the loaded specimens produce a uniform deformation. After removing the sample from the instrument, re-adjust the sample under standard atmospheric conditions and allow it to recover for a certain period of time, and then compare the sample with the reference sample to assess the appearance of the sample.
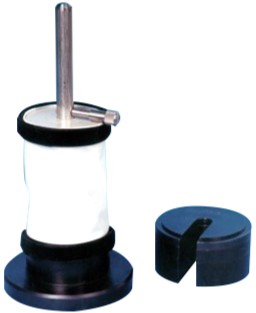
The instrument consists of a base with a bracket, the base of the fixed steel plate and the top of the movable steel plate to match ,the activities of the flange with the locking pin. Equipped with four standard weights, respectively, 2000g, 1000g, 500kg, 200kg.
Application
The instrument consists of a base with a bracket, the base of the fixed steel plate and the top of the movable steel plate to match ,the activities of the flange with the locking pin. Equipped with four standard weights, respectively, 2000g, 1000g, 500kg, 200kg.
Application
The wrinkle recovery test instrument detects the recovery of the specimen after a certain period of time under a load. It is suitable for any fiber pure or blended fabric test. Besides, it can not maintain the shape of stable materials under the characteristics of the conditions, such as the material which is soft, thin and easy to bend. We can evaluate its anti-crease performance through this device.
Technical Parameters
Standard weights(2000g、1000g、500kg、200kg)
Full set 5 inch x 3 inch (5 / set)
The rating card (optional)
![]()
Standards:
AATCC 128Wrinkle recovery of fabrics: Appearance method
ISO 9867Textiles - Evaluation of the wrinkle recovery of fabrics - Appearance method
ENKA 3061
ISO 9867Textiles - Evaluation of the wrinkle recovery of fabrics - Appearance method
ENKA 3061
Accessories:
(1)First ,use the pressure sample device, three samples are tested continuously. The interval is about 1min;
(2)Fold the sample face to face. Cloth edge clip with a clip, not more than 5mm;
(3)In some cases the sample surface will be stained together. We should use a piece of paper or aluminum foil whose size is 18x14mm. Be careful not to contact the sample by hand;
(4)Place the folded sample between the two briquettes and apply the weight immediately. Turn on the chronograph and wait 60 + 2 seconds. Prepare the next sample according to 2,3,4 steps.
(5)After 5 minutes, remove the first piece of weight quickly and easily. Transfer the folded sample with the clip to the sample rack of the measuring instrument;
(6)Remove the paper or aluminum foil. Place one side of the sample in the sample holder and the other side is the free hanging. After 60 +2 seconds, Put the second and third pieces of samples into the sample folder;
(7)Adjust the instrument so that the hanging end of the sample is consistent with the vertical mark of the instrument, within 5min should be constantly adjusted (so that the hanging end of the sample is consistent with the vertical mark of the instrument,) to avoid the impact of gravity;
(8)After 5 minutes, record the recovery angle of the sample. If the sagging side is slightly curled or twisted to pass through the vertical plane of the center of the droop and the axis of the dial as a reference for the crease return angle reading;
(9)Repeat the above steps, and then do three negative fold of the sample and the zonal frontal fold and the opposite fold (a total of 12).
Technical Parameters
| Items | Parameters |
| Sample size | 15cm×28cm(6×11inch) |
| Weights | 2000g,1000g,500kg,200kg Accumulate |
| Dimensions | 150×150×330mm(L×W×H) |
| Weight | 9.5kg(21lb) |
Full set 5 inch x 3 inch (5 / set)
The rating card (optional)
Loading


