Problems That Should Be Paid Attention to when Calibrating the Touch Trigger Probe
- touch triggerprobe is smaller than the static diameter
After learning about the principle of probe calibration, we can easily explain why the dynamic diameter of the probe stylus is smaller than the static diameter.
(1) The touch trigger probesis equivalent to a lever structure in principle. During the touch measuring, the sensor must be able to trigger (equivalent to the switch off) in order to send out a signal. Since the probe stylus (force arm) has a certain length, after the gem ball of the probe stylus touches the standard ball, it has to travel a certain distance to trigger the sensor. The longer the probe stylus, the greater the distance. Therefore, the trigger signal is delayed, so that the diameter of the fitting ball is smaller than the sum of the diameter of the gem ball and the standard ball. When the software subtracts the diameter of the standard ball from the diameter of the fitting ball, the "dynamic diameter" of the calibrated probe stylus we get is smaller than its static diameter.
(2) The probe stylus will be slightly deformed during the touch measuring, which increases the signal delay, which is also one of the reasons for this phenomenon.
(3) The time required for the trigger signal of the sensor (probe) to reach the counter is fixed. However, the rate of change of the grating reading during this time is related to the touch speed of the measuring machine. When the touch speed is fast, the "dynamic diameter" of the probe stylus is small.
- measurement touch probe
The calibrated dynamic diameter is smaller than the static diameter, which will not affect the measurement accuracy of the measuring machine. On the contrary, it also compensates for the delay of the contact measurement and the deformation of the probe stylus. Because the ball radius correction of the stylus measuring software used by the measuring machine (converting the coordinates of the ball center point measured by the needle to the coordinates of the contact point) is a dynamic diameter, but not a static diameter. When calibrating the probe, please pay attention to the following issues:
(1) The measuring seat, probe (sensor), extension rod, probe stylus, and standard ball must be installed reliably and firmly, without looseness and gaps. After checking whether the installed stylus and standard ball are firm, wipe the fingerprints and stains on the stylus and standard ball to keep them clean.
(2) The measurement speed during probe calibration should be the same as that during measurement, and automatic measurement methods should be adopted. When using the manual calibration method, attention should be paid to the uniformity of the measurement speed and position. Pay attention to whether there is a big deviation between the corrected stylus diameter and the correction result of the same length before correction, and the shape deviation during correction. If there are obvious changes, find the cause or clean the standard ball and stylus, repeat the correction of 2~3 times, and observe the degree of repetition of the results. Check whether the probe, stylus, and standard ball are firmly installed, and check the working status of the instrument.
(3) When multiple probe angles, positions or different probe lengths are required for calibration, the calibration effect (accuracy) must be checked after calibration. The method is: after calibrating all the defined probes, use the functions of the probe to measure the standard sphere with all the calibrated probes in turn, and observe the change of the center coordinates of the sphere. If there is a change of 1 to 2 meters, it is normal. If it changes a lot, it is necessary to check whether the installation of the base, probe, extension rod, stylus and standard ball is firm. It is an important reason for this phenomenon.
(4) Replace the probe (different software, different methods), because the length of the probe is an important parameter for the automatic calibration of the probe. If there is a deviation in the length of the input probe, it will cause abnormal collision of the probe.
(5) Input the standard ball diameter correctly. It can be seen from the principle of calibrating the probe that the diameter of the standard ball directly affects the calibration value of the diameter of the stylus gem ball. Although this is a "low probability event", it is still possible for beginners.
In summary, it is normal that the dynamic radius of the touch trigger probe is smaller than the static radius, so the surveyor does not need to worry about this. The calibration of the probe is an important part of the measurement process, and the deviation generated will be directly added to the measurement result. When using combined probes (multiple probe angles, multiple probe positions and multiple probe lengths), its calibration accuracy is particularly important, and we must attach great importance to it. When a problem is found, rechecking the results of the probe calibration will waste valuable time and increase a lot of work.
Pioneeris a professional probe factory, we provide touch probe, tool measuring probe, cnc machine tool probeand etc. Want to know more? Please contact us.
Отправить запрос, связаться с поставщиком
Другие товары поставщика
| CNC Machine Tool Touch Probe System | Pioneer touch probes for CNC machines can measure and find the base position of the workpiece quickly and accurately, set or modify the workpiece c... | |
| CNC Machine Tool Setter System | Harbin Pioneer M&E Technical Development Co, Ltd was founded by Mr. Baichun Sun in 1995. After several years of development, the probe factoryg... | |
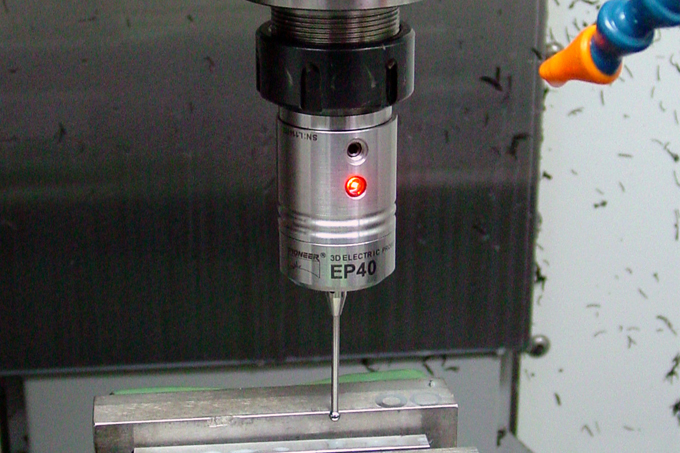
| EP40 Electrical Probe | EP40electric probe includes a electric probe unit and a 20mm diameter cylindrical shank. The electric probe senses the contact with the metal workp... | |
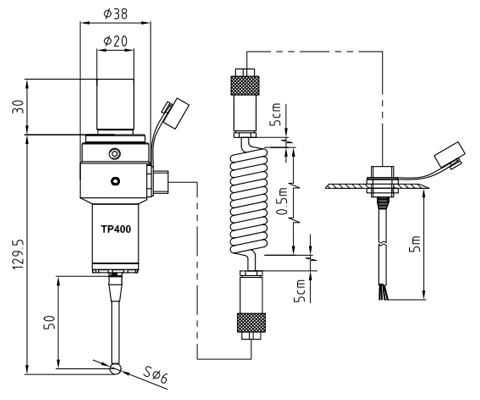
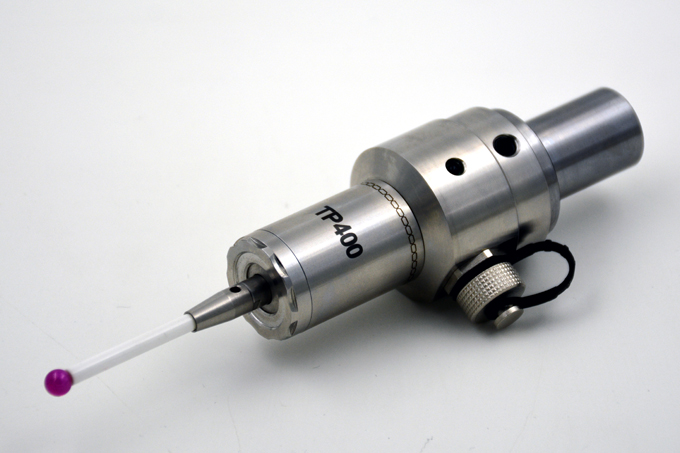
| TP400 Cable Probe | TP400cable probe system mainly used in various specifications of CNC grinding machines, CNC lathes, and especially measuring devices. TP400 CNC dig... | |
| TP400 Cable Probe | TP400cable probe system mainly used in various specifications of CNC grinding machines, CNC lathes, and especially measuring devices. TP400CNC digi... |
Похожие товары
| Cable Wire Recycling Production Line | Продавец: Changzhou Optima Technology Co.,Ltd. | Cable Wire Recycling Production Line 1000kg Copper Wire Recycling Machines: The biggest ca... | |
| Small Cable Granulator and Separator | Продавец: Changzhou Optima Technology Co.,Ltd. | Small Cable Granulator and Separator : Small shape,1 phase power,grind and separate copper f... | |
| Turnkey service of tire recycling | Продавец: Changzhou Optima Technology Co.,Ltd. | Turnkey service of tire recycling At , we specialize in manufacturing advanced tire recyclin... | |
| Mobile Portable Tire Shredder | Продавец: Changzhou Optima Technology Co.,Ltd. | Mobile Portable Tire Shredder Mobile Portable Tire Shredder – A cost-effective soluti... | |
| Aluminum wire rod rewinding machine | Продавец: Changzhou Optima Technology Co.,Ltd. | Aluminum wire rod rewinding machine Basic Introduction 's is engineered with advanced Korea... |


